
Configuring Jenkins
In the last section, we ran a local Jenkins instance via Docker and validated it’s running on http://localhost:8080.
Now, we’re going to configure that Jenkins instance by:
-
Entering the initial admin password
-
Installing the default suggested plugins
-
Installing the Jenkins Templating Engine
-
Installing the Docker Pipeline plugin
Initial Admin Password
There are two ways to get the initial admin password for Jenkins.
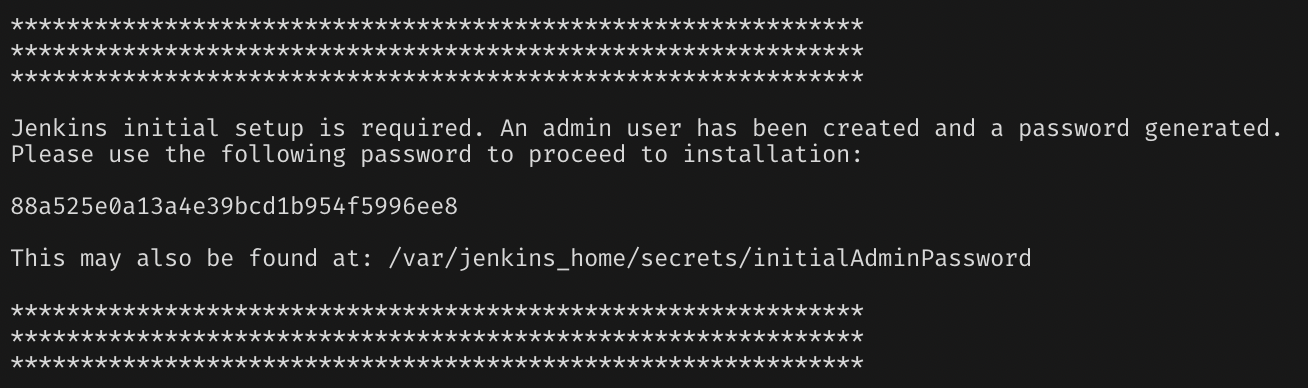
1. Cat the file
The initial admin password is stored in /var/jenkins_home/secrets/initialAdminPassword within the container.
You can print this password in your terminal by running: docker exec jenkins cat /var/jenkins_home/secrets/initialAdminPassword

Copy and paste this password into the text box in Jenkins.
|
If you’re using a mac, I’d recommend running |
Installing the Suggested Plugins
After entering the initial admin password, Jenkins will bring you to a Customize Jenkins page.
Click the Install suggested plugins button.
This will bring you to a loading screen displaying the progress as Jenkins installs the most popular community plugins.
Setup Initial Admin User
After the plugins are done installing, Jenkins will send you to a screen to configure the default admin user.
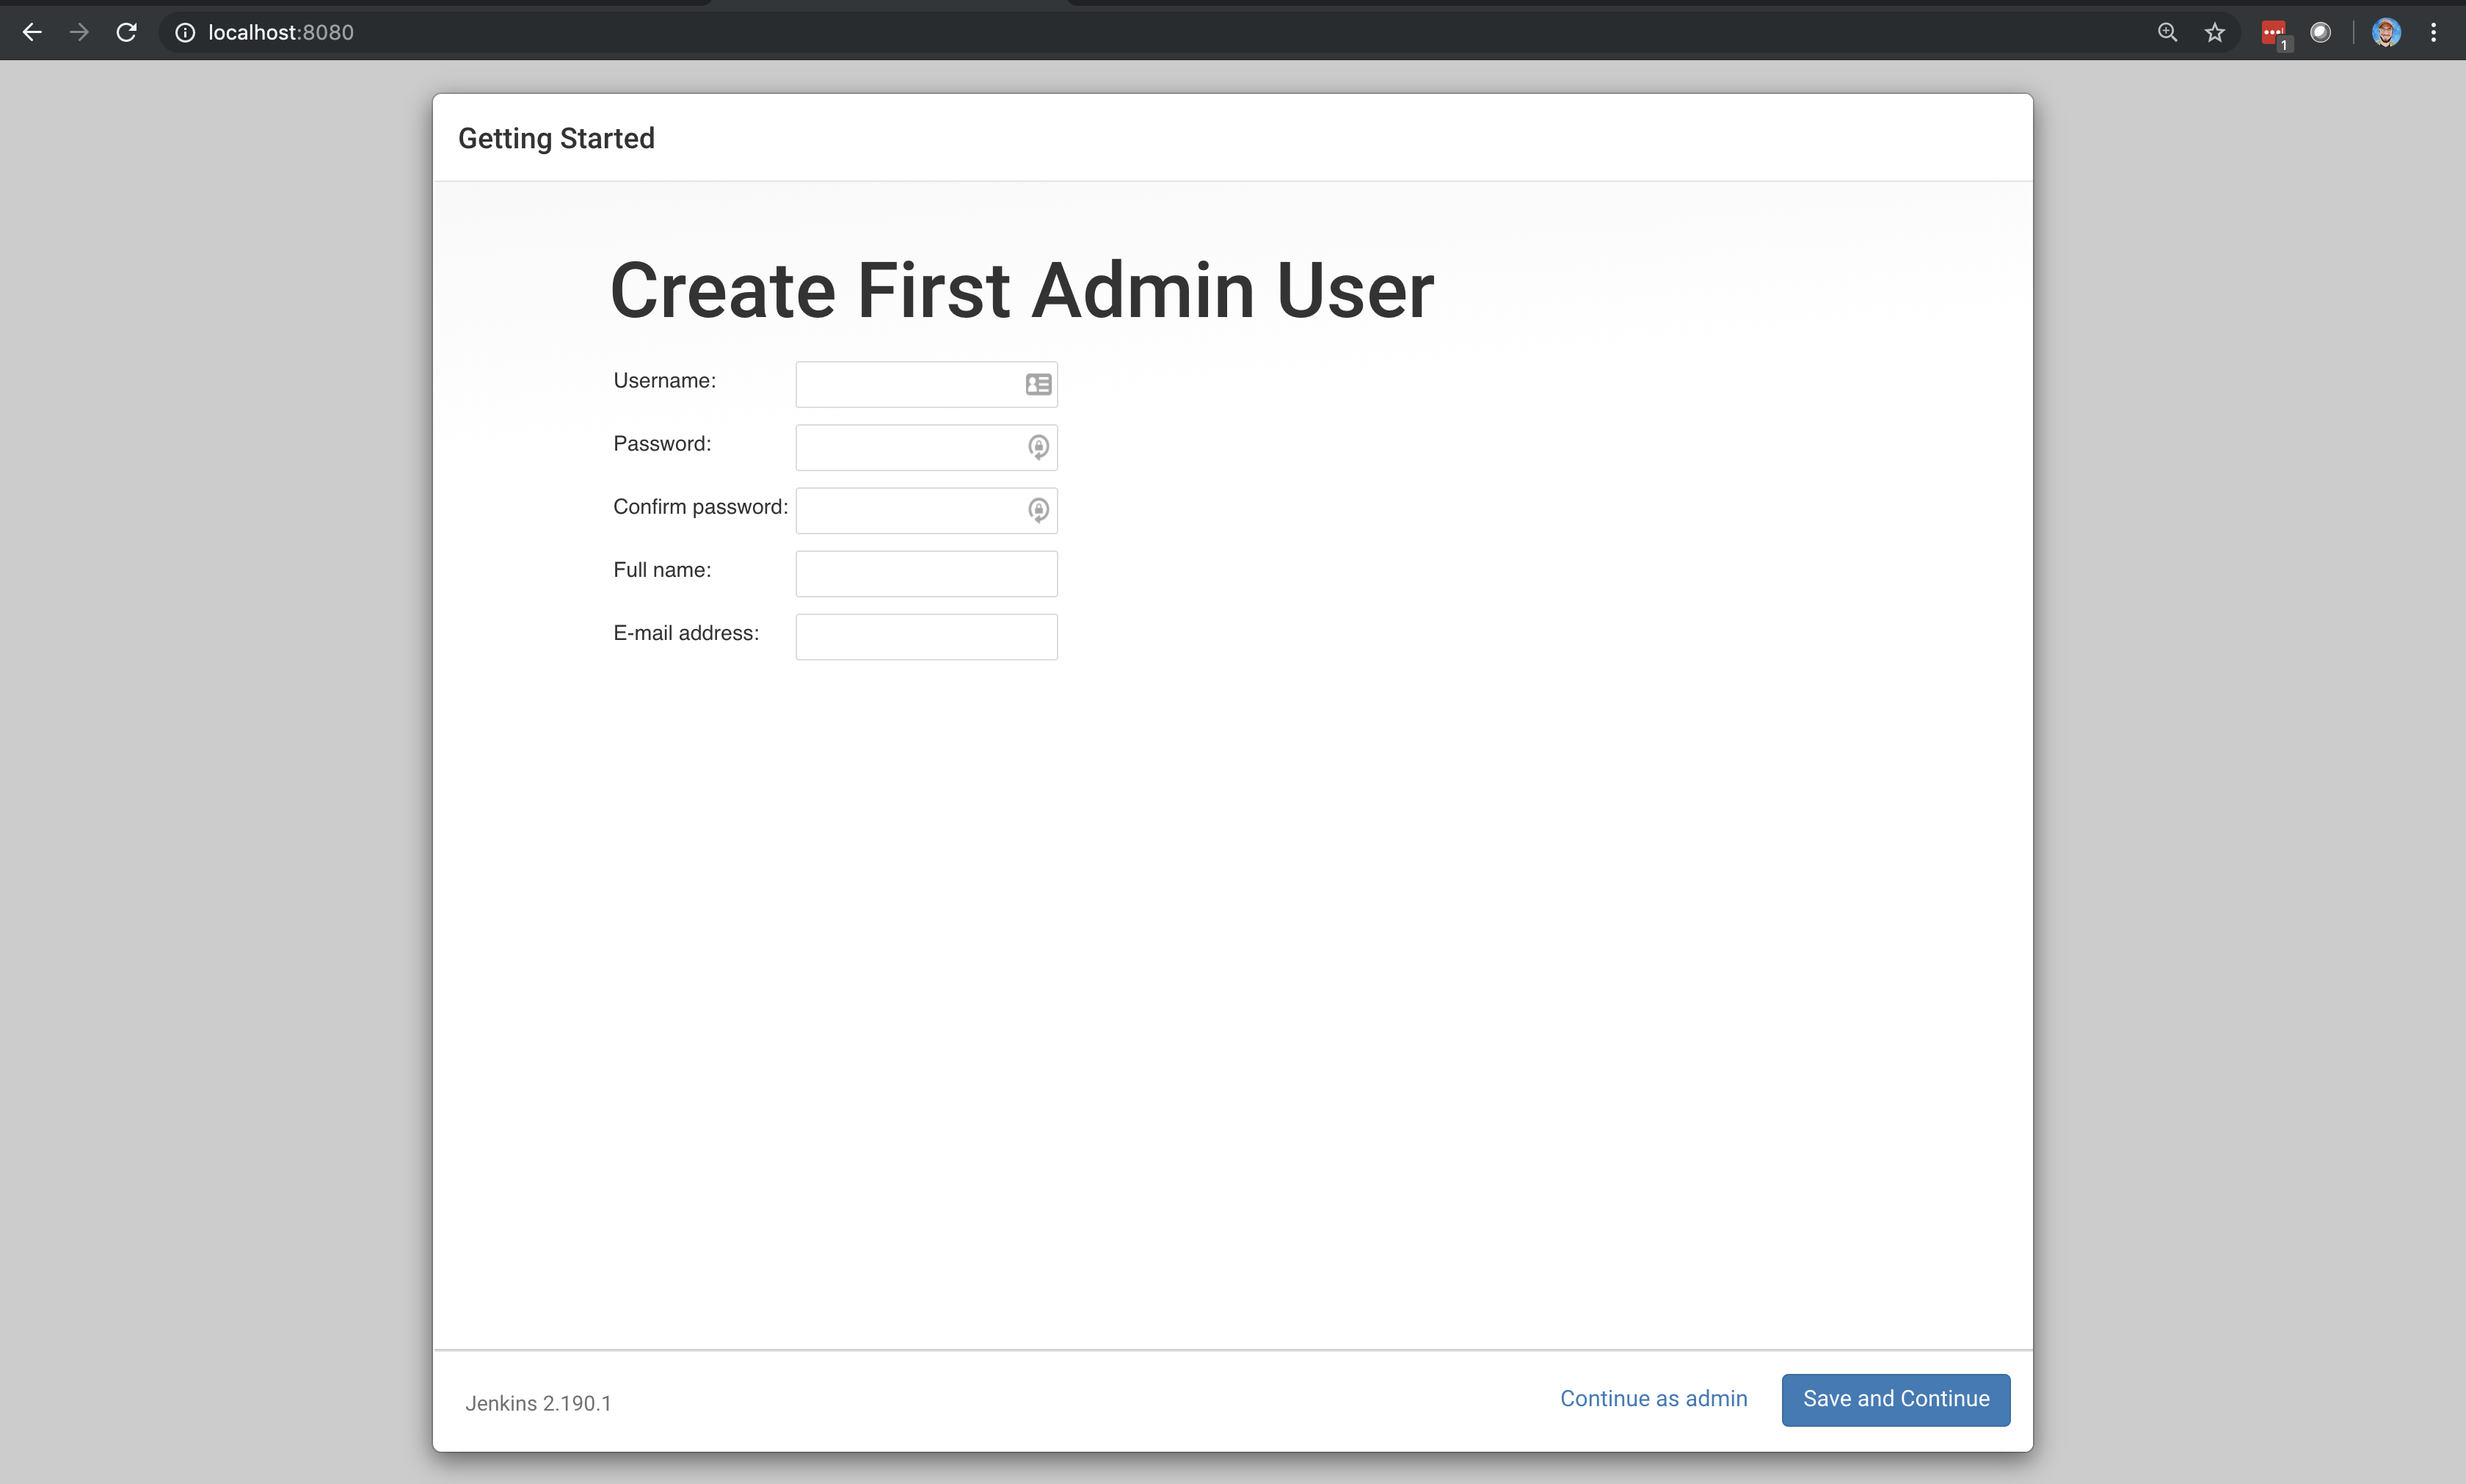
Feel free to create a custom username and password or continue as admin.
|
If you click "continue as admin" then the username will be |
Instance Configuration
After creating the initial admin user, Jenkins will send you to a screen where you can configure the instance’s URL. The text box will be prepopulated with what’s currently in your browser, so click Save and Finish in the bottom righthand side of the screen.
Installing the Jenkins Templating Engine
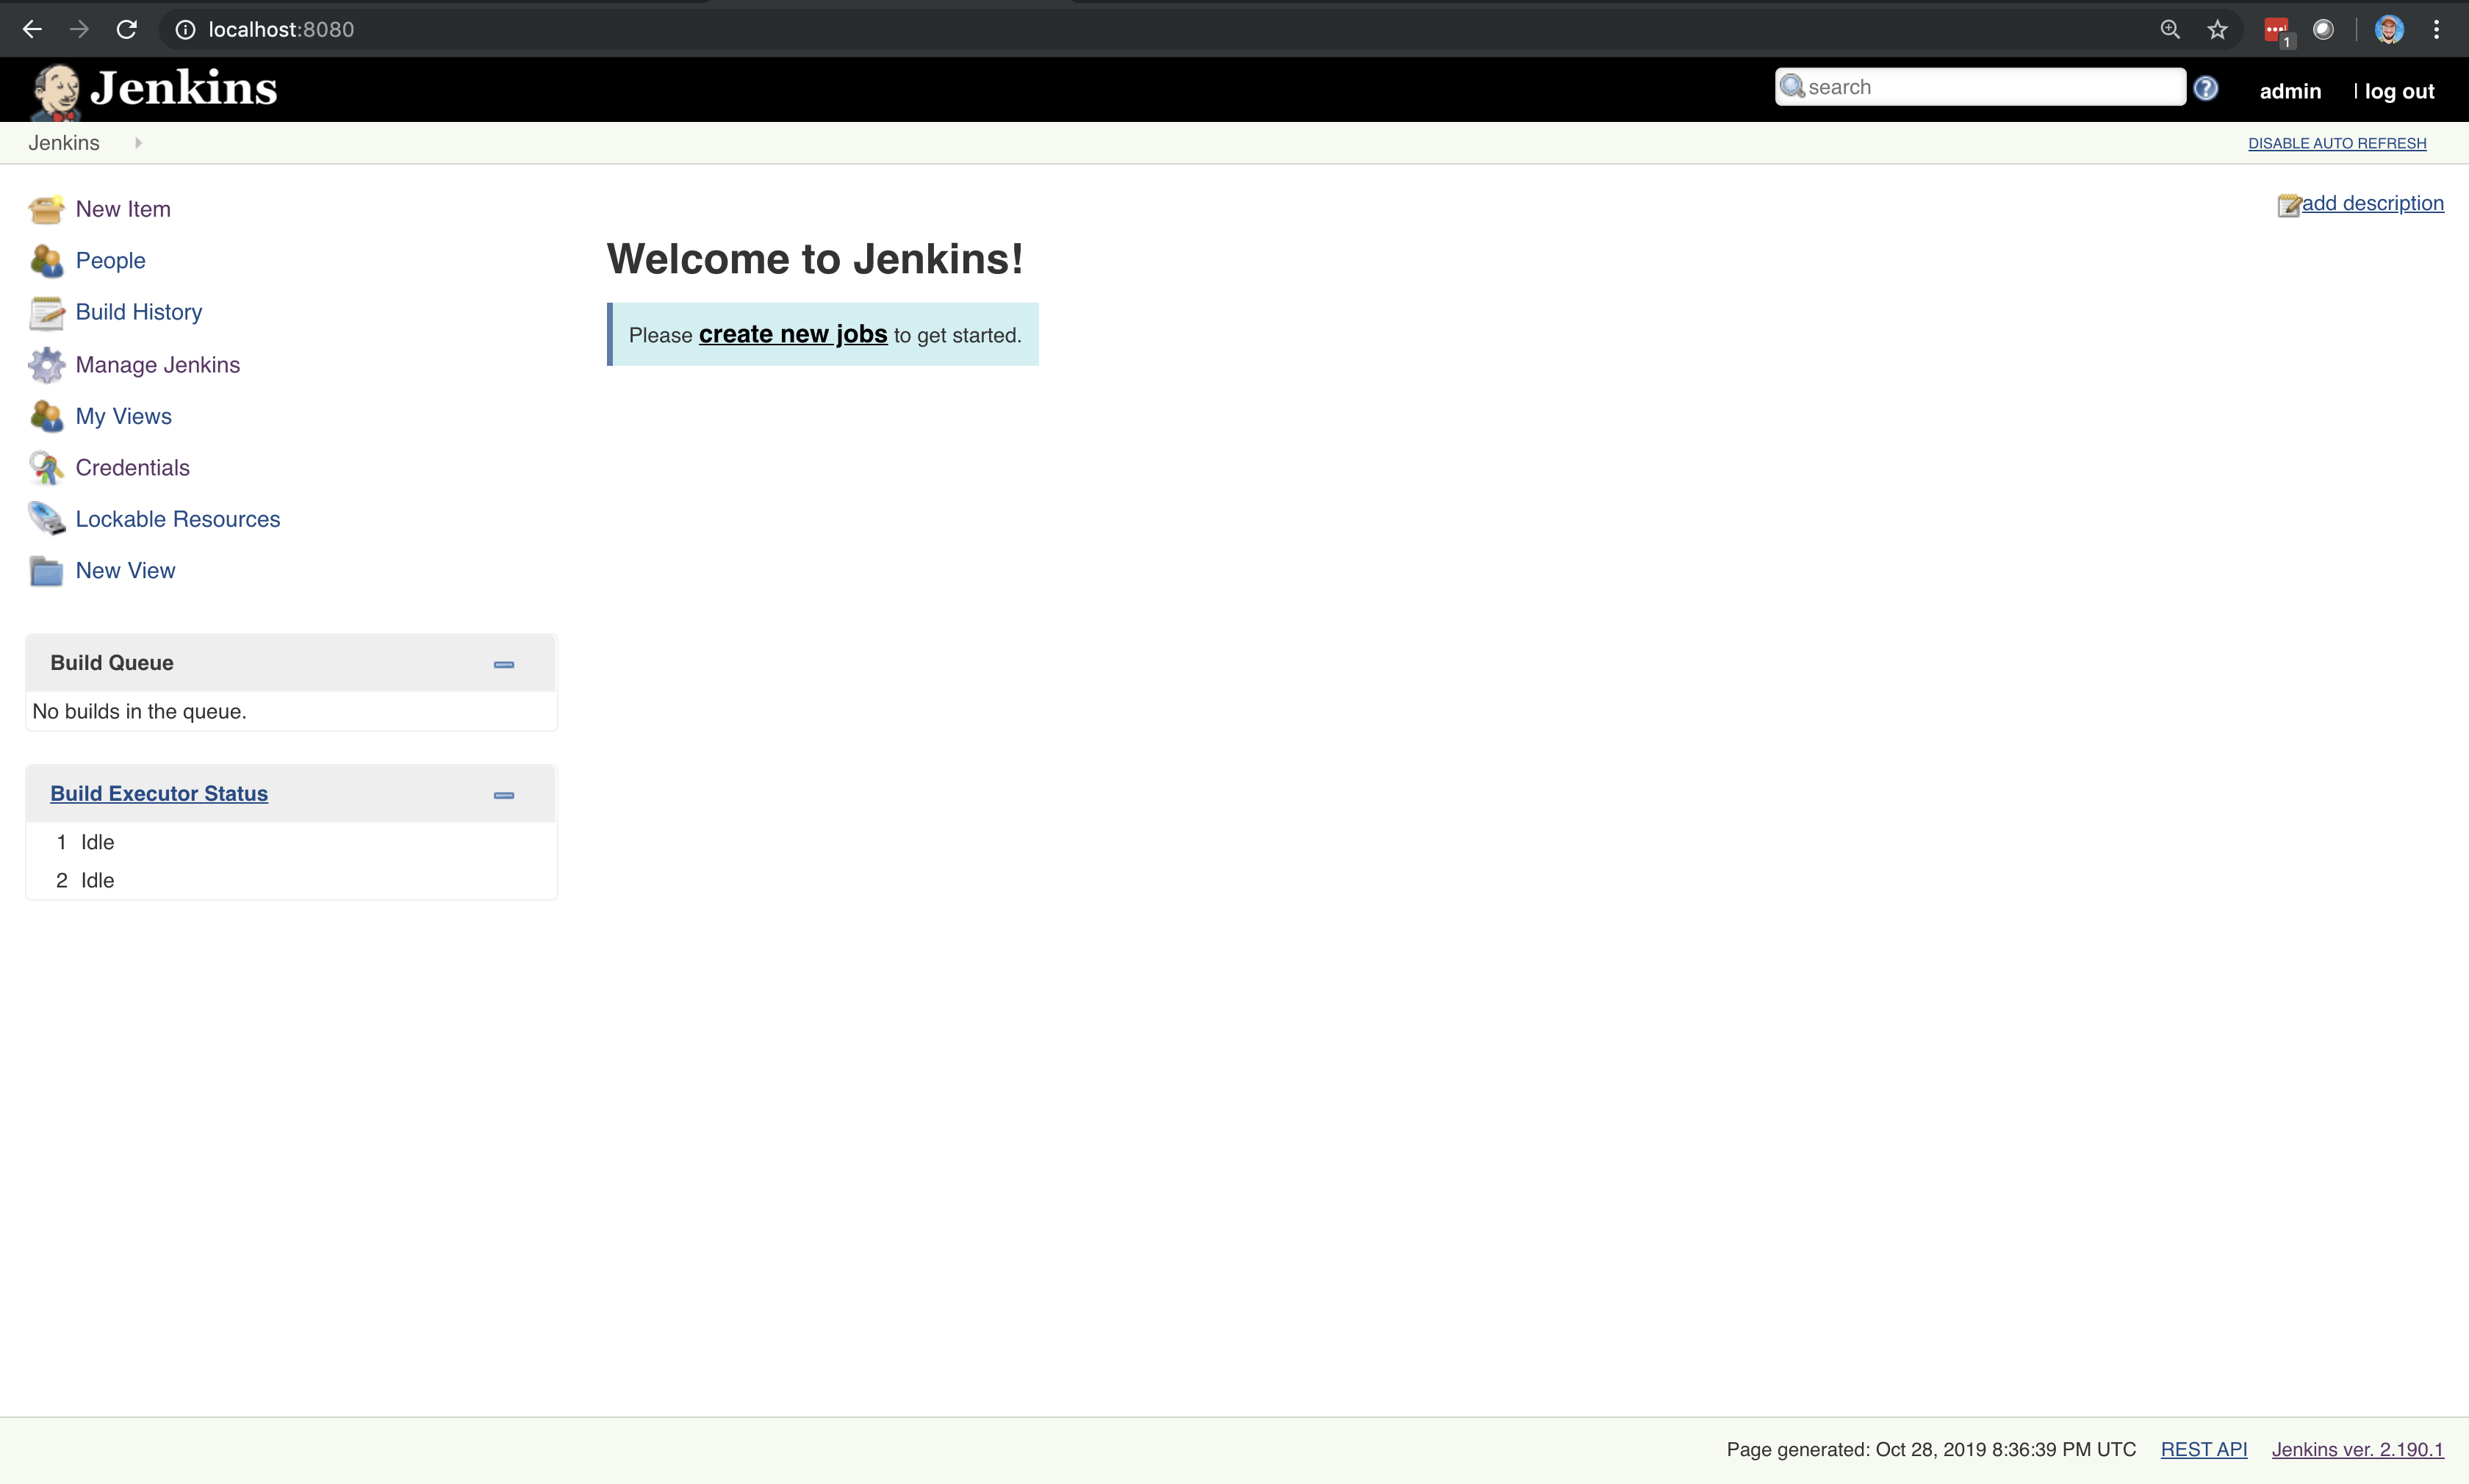
At this point, you’ve completed the Jenkins Startup Wizard process. Click "Start Using Jenkins" and you will be directed to the Jenkins home page.
Now, we’re going to install the Jenkins Templating Engine, which can be found as the Templating Engine Plugin in the Jenkins Update Center.
-
In the lefthand navigation menu, select Manage Jenkins
-
In the middle of the screen, Select Manage Plugins
-
Select the Available tab at the top
-
In the upper right Filter text box, type:
Templating Engine
At this point you should see:
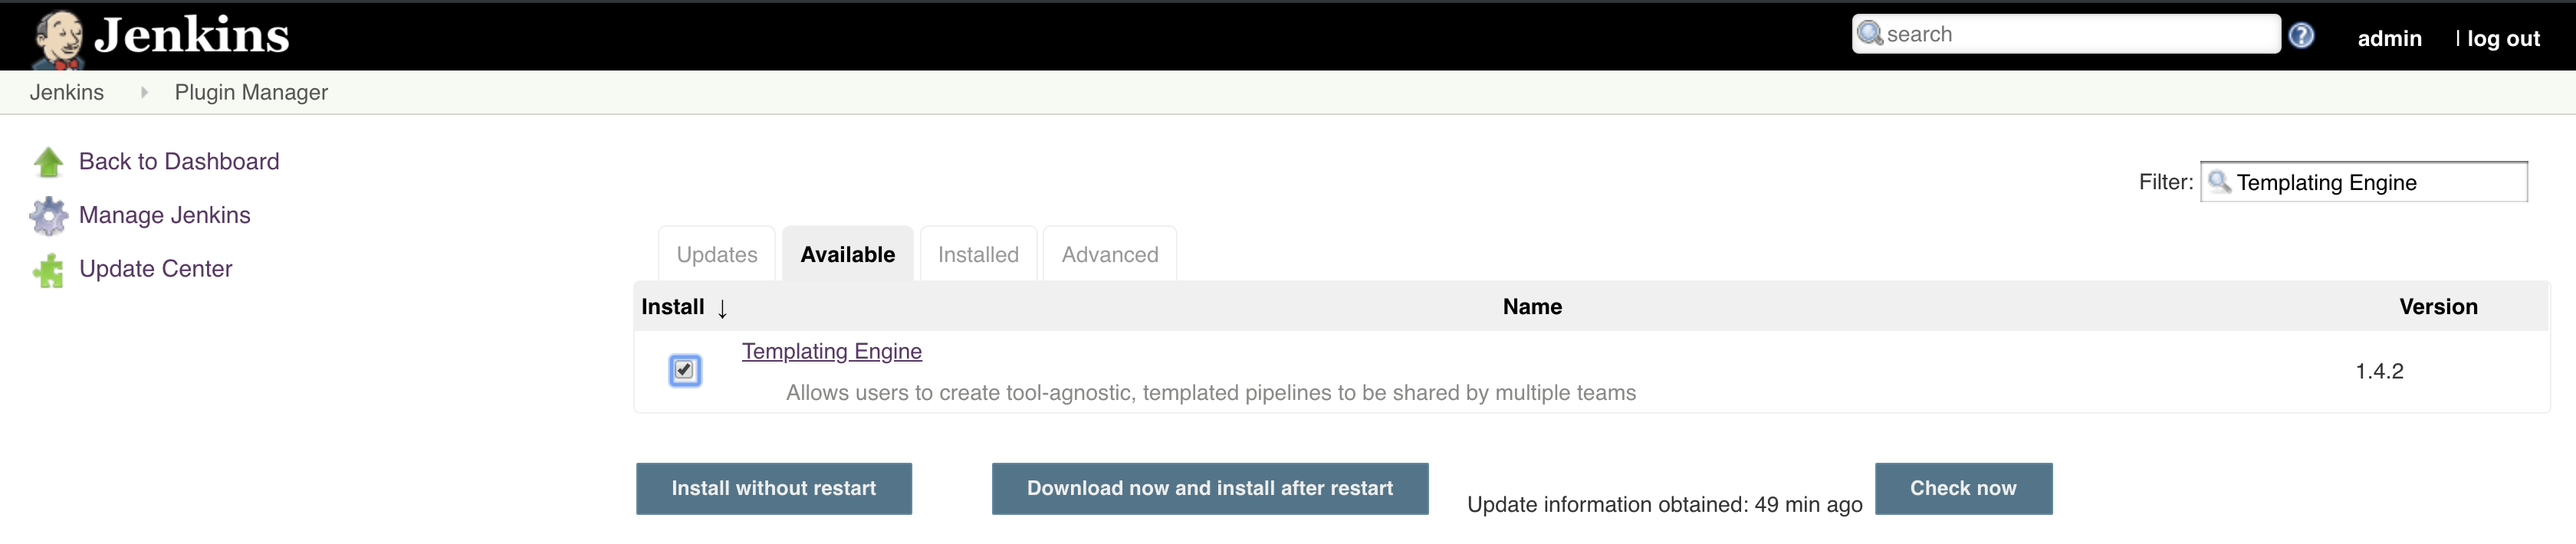
Make sure to select the Templating Engine Plugin and click "Download now and install after restart".
This will direct you to a screen showing the download progress of JTE.
The plugin will not become active until you select "Restart Jenkins when installation is complete and no jobs are running".
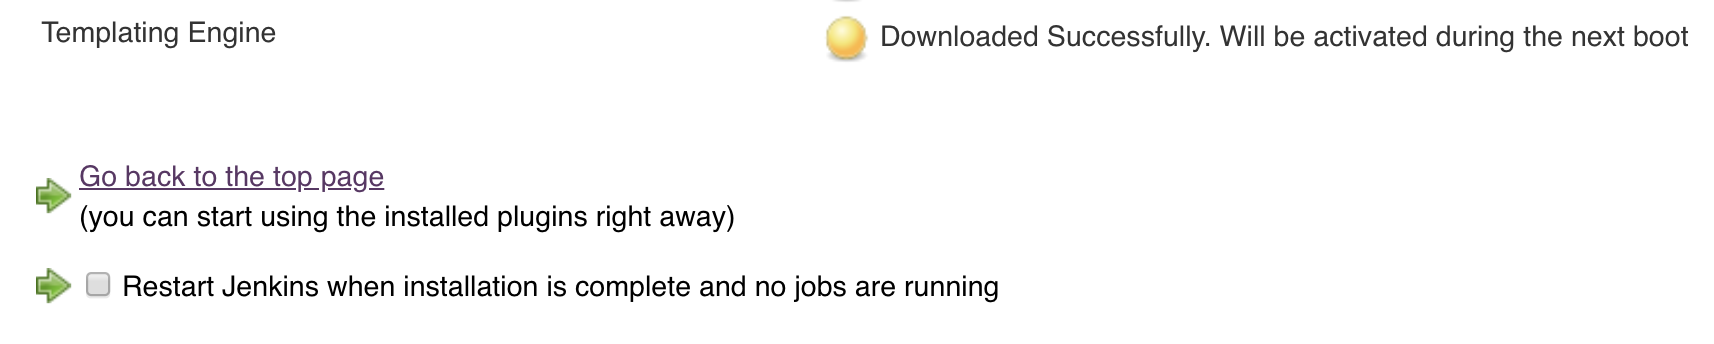
At this point, Jenkins will restart automatically. Log in again with either the custom admin user you created earlier or the initial admin password.
|
You can run |
Installing the Docker Pipeline plugin
Now, we need to install the Docker Pipeline plugin, which can be found as the Docker Pipeline in the Jenkins Update Center.
-
In the lefthand navigation menu, select Manage Jenkins
-
In the middle of the screen, Select Manage Plugins
-
Select the Available tab at the top
-
In the upper right Filter text box, type:
Docker Pipeline
Follow the same steps used for installing the jenkins templating engine and restart the Jenkins instance.